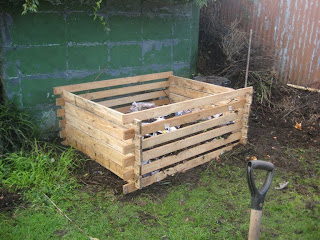
I set the resident labourer a task this weekend. Make me a compost bin. Well it wasn’t quite like that. I had planned to try and make it myself but because I needed his help to “acquire” a pallet he became more involved than either of us expected.

He became the master craftsman and I, his supervisor and assistant. Our existing bin was one of those large black plastic things, seen here on the right. I never could get the hang of it. It seemed to take forever for anything to break down and was usually a soggy mess. Plus I could never figure out how to remove a small amount of compost from the bottom without the whole pile spilling out. And turning the mound was nigh on impossible. My new bin is super duper brilliant. And it was so easy to make that hubby is now keen to make more. This from a man who could hardly swing a hammer before I met him.
First we cleared the area for the bin.
Step 1:
Find pallets. Most companies have these lying around and are only too keen for the public to

remove them. I regularly witness my neighbour carrying these up his driveway to be chopped up and put on his fire. We only grabbed one as we knew we had an old slatted bed in the garage which we could recycle. Dismantle the pallet and try to remove all the nails.
Step 2:
Divide the wood into 2 piles. Only one pile will need notch
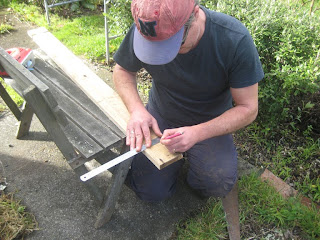
es cut into them. Work out where the notches should be cut. Measure and mark on each end of the planks in the “notch” pile. We marked our notches 60mm in from the end and 30mm deep. The width of the notch should be just big enough for the “other” planks to wedge into. Our notches were a little bigger so are a bit loose but this will not affect the overall sturdiness of the compost bin.
Step 3: cut the notches. For this we used a jigsaw.
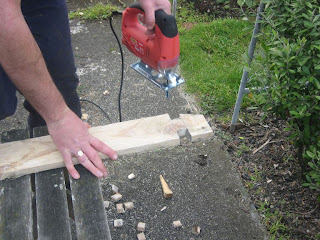
Step 4: assemble in place.
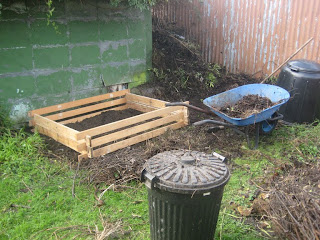
Step 5: layer compost.
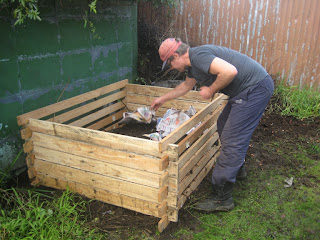
All done. Brilliant.